Showing posts with label How to Paint. Show all posts

Wednesday, September 14, 2011

How to Stain Your Deck With Benjamin Moore's Arborcoat

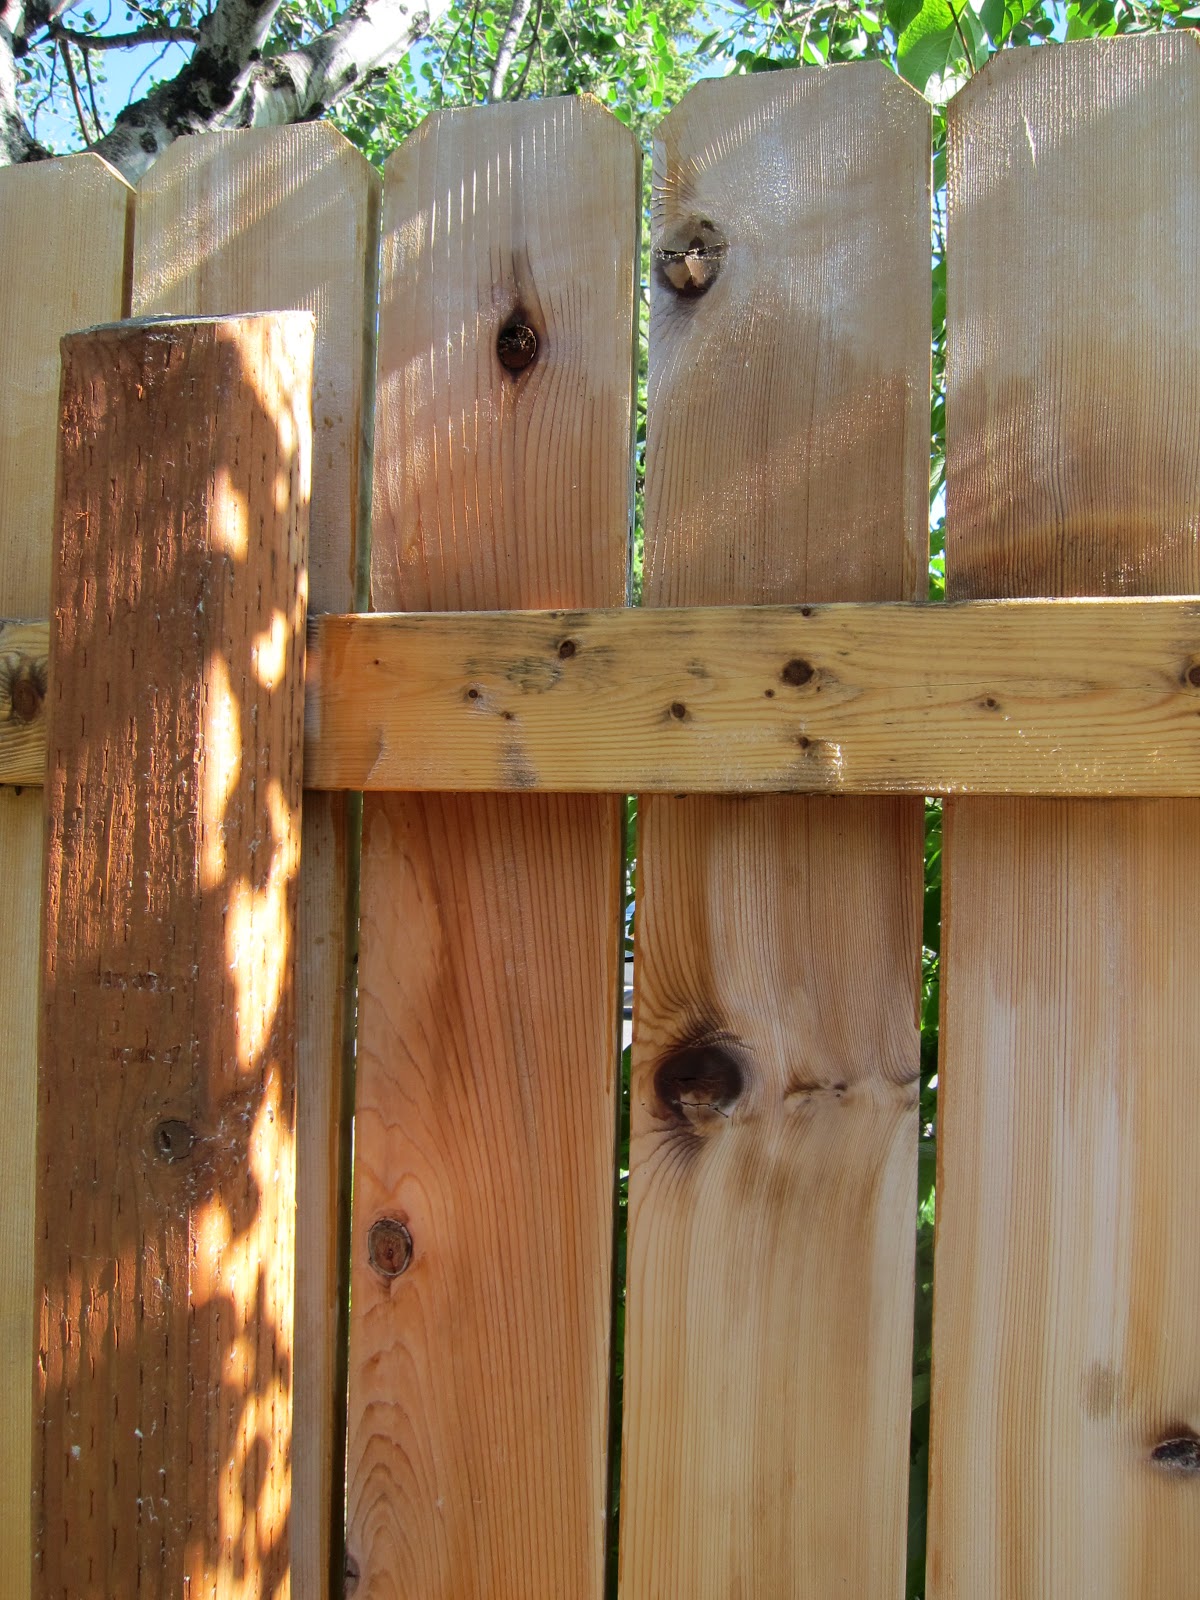
If you really want to learn the basics about staining your deck, take a look at a few of the videos we produced for Benjamin Moore. They feature Arborcoat Exterior Stain and their prep products (Remove, Restore, Brighten, and Clean). As of this blog post, Benjamin Moore hasn't yet posted most of our videos, but they should be doing so soon. The deck pictured here is the one we "restored" and stained with the semi-transparent finish and protective clear coat.

After using these products for a few years, we have really seen how well they work. I guess you just need to watch the videos to see them in action (Restore and Brighten anyway). I could tell you fifty times how great they work, but really, I'll just let you watch the videos and see for yourself.

I guess I'll also say something about Arborcoat--we love the stuff. Since it's water-based instead of oil, it's a lot easier on us (no stink, no paint thinner required, cleans up in the yard with the hose). It's easy to use, easy to touch up, easy to maintain. This is not BS. It's really true. If you're going to go to the trouble of staining your deck or fence, go to your local Benjamin Moore store and check it out. You won't be sorry. They should pay me for saying things like this, but they don't. They pay us for making videos, but they don;t pay me to toe the company line. I guess that's the good thing about being self-employed! As far as I'm concerned, Arborcoat is the best stain out there (at least it's the best one I've seen/worked with).

Check out our website at VideoPaintGuide.com

Tuesday, September 6, 2011

Brushing Fast With Benjamin Moore's Aura

We recently painted this stucco house in Missoula's slant street neighborhood: 


I was trying to make good time and get the job done, so I found myself brushing out this garage door pretty quickly.

At the paint store earlier in the day, I spent about 15 minutes trying to help a fellow painter use Benjamin Moore's Aura Exterior Paint. She didn't get it (this was my second attempt to help her understand what slight modifications you have to do to effectively use Aura like any other paint).We even showed her our video on how to use it, but she insisted that the paint is no good, that you can't just apply it like you would any other paint.

So, being as we use this paint at every job we do and have never had any trouble applying it, I decided to grab our camera from the car and video a couple minutes of trouble-free brushing. And me showing off.


The paint is Benjamin Moore's Bittersweet Chocolate in Aura Low Lustre.

Check out our website at VideoPaintGuide.com


Sunday, June 26, 2011

How to Stain Your Deck/Fence: Removing the Grey

Yesterday afternoon, I decided to work on a few paint projects around the house (since we decided not to work). Things went pretty quickly, though: I went over to my parents' house and removed the grey from their 3-year-old fence so my dad could finish staining it. Then I went home and used the chemicals on an old bench, sanded my 3 Adirondack chairs, and stripped my deck. It was a busy 5 hours, and I figured I would share some pictures of the projects.

The Fence:
First I used Benjamin Moore's Restore and Brighten along with my pressure washer to remove the grey and get the wood ready for stain.

The fence had been stained up to this point (the pale wood was never stained), which allowed the wood to weather.
Since it was never stained, water sat on the horizontal boards and dripped down creating tannin stains on the boards.

If I stained the fence without removing the tannin stains and grey, it would show up beneath the stain and look dirty.

I sprayed Restore on the whole fence, and pressure washed only the middle section first  so you could see how dramatically it works. This picture was taken before I applied the Brighten, which, as its name indicates, brightens the wood.
Restore tends to darken the aged gray wood (as it obviously did here).

After removing all the grey, I brightened it. The pressure washer removed the grey wood, then the Brighten cleaned it up.

The wood looks great and is ready to stain.

The Bench:
This old bench has been sitting under the maple tree in our back yard for a long time. I'm not sure what it is, but everything you put beneath them turns black. The toughest parts of the fence were the areas under the trees on the other side, so I expected the same result with the bench.


Doesn't it just look like a junky old bunch of wood?


Here, I had sprayed Restore on the wood and let it work for a while. Then I started pressure washing sections of the bench to show how fast it changes.


I did the middle first just to demonstrate how well it works.

After applying Brighten to the chair, it was still pretty dark, but it looked good.

Since it was still so dark, I sprayed the bench with Clorox bleach and let it work overnight. Obviously, this brought out all the black splotches.
Adirondack Chairs and Picnic Table: 

Instead of the prep products, I used our random orbit sander with 80 grit sandpaper to sand down the Adirondack chairs. I am using solid stain on them, so I only needed to remove the old wood fibers (plus, they're not dirty or covered in lichens or mildew, spo a quick sanding did the trick).


I will post some pictures of the furniture later. I stained them all solid black with Benjamin Moore's Arborcoat stain.
Check out our website, VideopaintGuide.com

Monday, June 13, 2011

How to Paint Your House: Scraping

There are many useful scraping tools you can use when painting your house. For most exterior siding surfaces, we usually use 3 different tools: a putty knife, a 5-Way, and a carbide scraper.
Left to Right: Hook scraper, carbide scraper, putty knife, 5-way.


They all work well for scraping different paint types on different surfaces. I am also showing the hook scraper here since it's popular, although we don't use them much.


The carbide scraper can remove a lot of paint fast--it tends to shave tough paint off, smoothing out edges easily, but the blades are expensive and can break if you hit screws or nails. The carbide scraper works more like a shaving razor than a scraper, and really bites into whatever you're scraping with it.
 
I highly recommend them, though, despite the cost (around $8/double-sided blade right now in Missoula).

The standard hook scraper has a steel blade that you can sharpen, so it lasts a long time. It also doesn't cost much and won't break against nails or screws.  If you examine the edge of the blade, you can see that it's really not a blade at all. It's more of a thin piece of steel.
The downside with hook scrapers is that they aren't very sharp and dull pretty fast, especially if you're dealing with old oil-based paint (since it's tough and often really hard). If you can master the technique, you can use an angle grinder to sharpen hook scraper blades fast and get a lot of work done. Still, I like the carbide better and tend to use them until the blades break.


Take a look at this short video we took today demonstrating the use of a carbide scraper:


Also take a look at my brother scraping the same area with a 5-way:

These are just a few ways to remove paint on this particular surface, but you can apply these techniques to most any surface.

Return to the previous article, How to Paint Your House: Assessing Your Job

Check out our website at videopaintguide.com


Sunday, June 12, 2011

How to Paint Your House: Assessing Your Job

Before gathering painting materials or buying paint, you should walk around your house and give it a good once-over. Look for loose and peeling paint, cracks, holes, broken siding, mildew, etc. It's a good idea to get a handle on what you're going to face before starting work. With this series of articles, I am going to show you some different problems you will probably encounter on your own house (I'll use some of our paint jobs to demonstrate).


Today we started preparing a new house up in Missoula's Rattlesnake neighborhood. This place hasn't been painted in about 10 years, and unfortunately, the last painters thinned the paint out with water so far that they didn't really apply a coat of paint. It has siding with wooden windows and trim. It also has 2 decks, which we'll look at later. The siding isn't wood--it's Masonite, which is basically pressed/glued sawdust. If you keep it sealed, it will last a long time. When it gets exposed to moisture, it tends to swell up a bit, puckering up around screw holes, or on the bottoms of siding boards.
This siding is close to the ground and may have been hit with a mower.


A puckered nail hole where moisture got to the siding. Also note the thin coat of paint.

You can see how splotchy the surface looks. This is also the southwestern side of the house and gets blasted most of the day with sun. And as you can see, the soffitt is tiny, so the siding gets wet every time it rains.


  Since they applied such a non-coat, the film couldn't hold up against the weather. See the streaks of discoloration that ran down from the window? We are going to protect the siding so it hold up better this time.


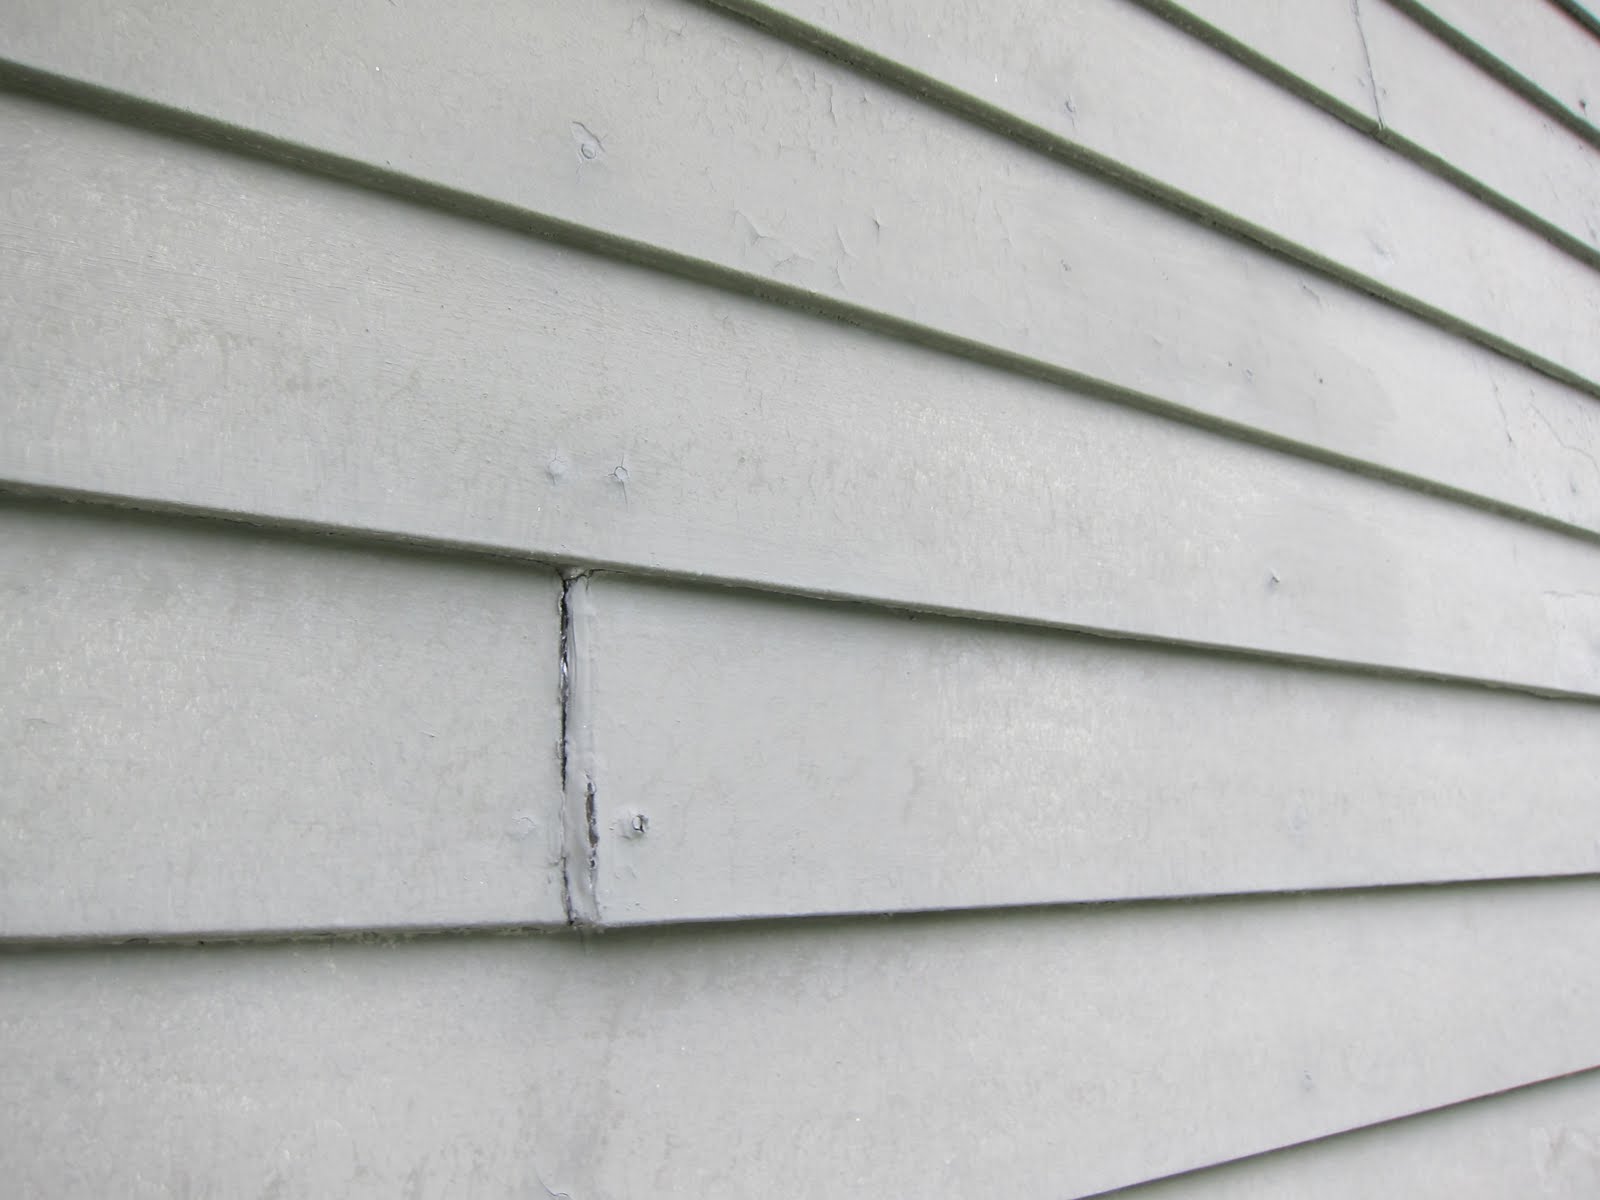
 The old paint is chalky and cracked in places. Most of the butt joints in the siding actually held up just fine, but there are some like this one. We'll remove the loose caulking, prime the siding, re-caulk the crack with Big Stretch, then paint it. Some paint manufacturers recommend priming both before and after caulking, but since Benjamin Moore's Aura is self-priming, we dont prime the caulking a second time. In fact, I'd be surprised to find very many people actually priming before applying caulking, let alone anybody doing it after.


With this house, the painting process is simple:

1. Scrape/sand all loose/peeling paint/caulking/filler.
2. Prime all bare wood and broken down old paint
3. Caulk all cracks, fill all holes
4. Prime all wood filler
5. Paint

Check out the next article in this series, How to Paint Your House: Scraping

Check out our website at VideoPaintGuide.com


Wednesday, December 15, 2010

Painting a Bedroom Blue Using Regal Select

Josh cutting in around the door.
Today we're painting a bedroom blue. As always, we're using Benjamin Moore Paint, although instead of our usual Aura, we're using Regal Select. It's another premium paint, and even though it costs a little less than Aura, it is still self-priming on most surfaces, and gave us good coverage.


We would have used Aura in this case, especially to ensure great hide with such a deep, bold color, but when we had the custom color matched, they only had Regal Select in quarts and not Aura. And since we started with Regal, we just decided to use it since the paint tech would have had to custom match the initial custom match in order to switch products!


We were both glad to try it out, though, since we rarely would ever choose to use a lesser quality paint than Aura (Aura always works really well for us, generally performing better than one could expect, in pretty much every situation). For us, using Aura is a sort of an "if it ain't broke, don't fix it" kind of thing.


This is a color sample we brushed out on the wall. Notice how we
feathered the edges, leaving no thickness at all. Once the wall is
painted, you won't know we ever sampled anything.

We patched the holes in this wall using Vinyl Spackle--it dries fast and
sands smooth (these walls are smooth finish with no texture).

After laying out our drop cloths, patching holes, and caulking cracks, we
cut in the edges of the room with 3-inch brushes.
A bit blurry, but this is Josh cutting in the edge of the door. Notice that
he is not using tape to try and mask an edge.


All cut in and now we're ready to roll.

We did mask the baseboard since it is staying the same color. The
tape won't give us a perfect edge, but it helps keep most of the blue
off the light trim.

Josh rolling the walls.


The first coat is complete--note how well it covered the old color.
We applied a second coat, which deepened the color.

Regal Select.
Check out our website at VideoPaintGuide.com